
Arthur's Pike - Lake District Walk
Wednesday 6th October 2021
It has been some time since I managed a walk thanks to an injury to my calf muscle, which had made walking even a short distance almost impossible for much of September. Our twice postponed week in the Lakes turned out to be one of the wettest trips we have ever had. On the one day there was no rain we managed a slow and steady walk up onto Arthur's Pike, which given that less than two weeks ago I was barely able to walk a quarter of a mile without being in pain felt like quite an achievement.
Start: Waterfoot Park (NY 4600 2464)
Route: Waterfoot Park - Pooley Bridge - Roehead - Barton Fell - Arthur's Pike - Barton Fell - The Cockpit - Roehead - Pooley Bridge - Waterfoot Park
Distance: 8.75 miles Ascent: 526 metres Time Taken: 5 hrs 30 mins
Terrain: Clear paths
Weather: Dry and warm
Pub Visited: Crown Inn, Pooley Bridge Ale Drunk: Thwaites IPA
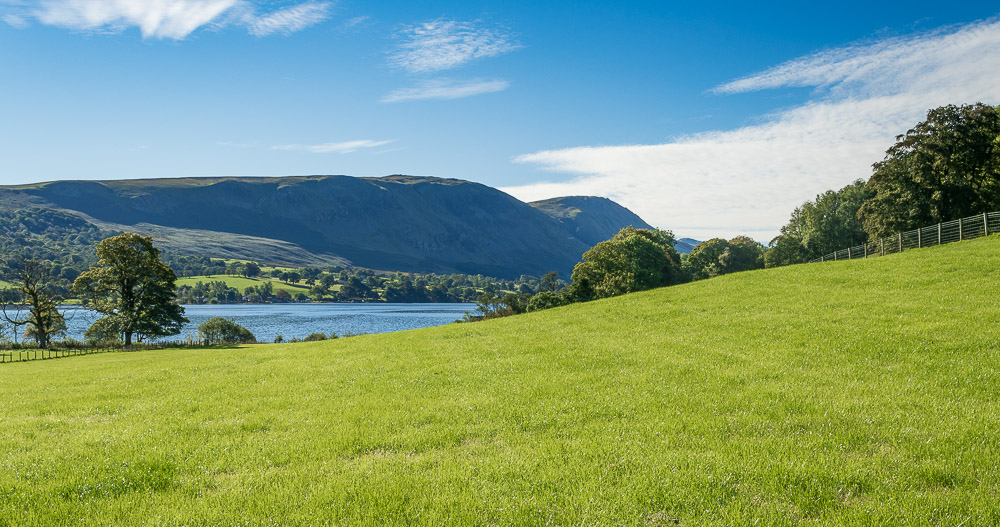
We walked from the cottage we were stopping at and soon had a view across Ullswater to Arthur's Pike, which was our hoped for target today.
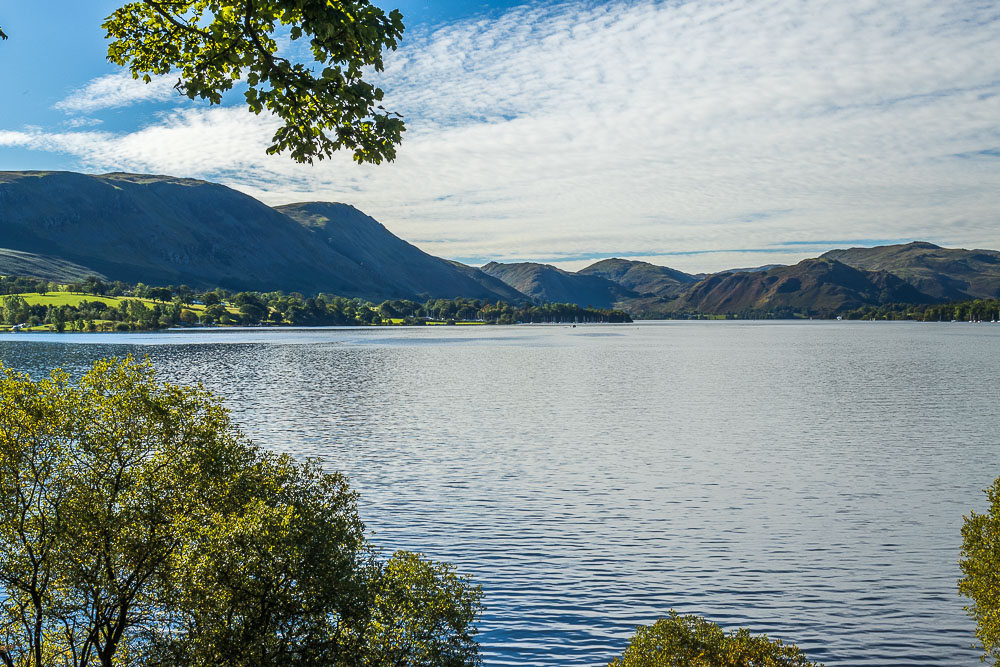
As we followed the track to Pooley Bridge we had a great view along Ullswater to Hallin Fell and Place Fell.
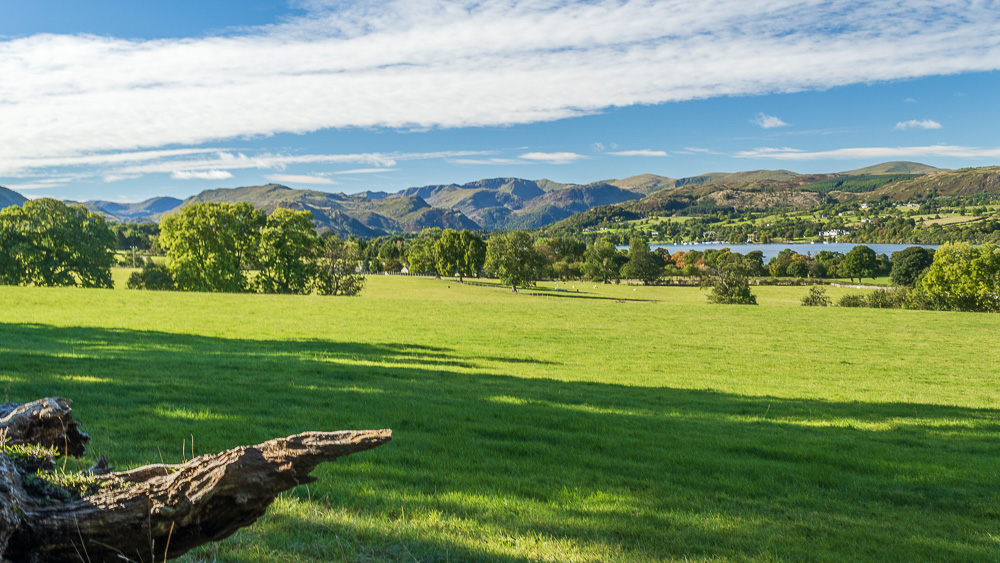
As we approach Roehead and the fells a gap in the trees gives us a view across the fields to Ullswater and the Helvellyn range.
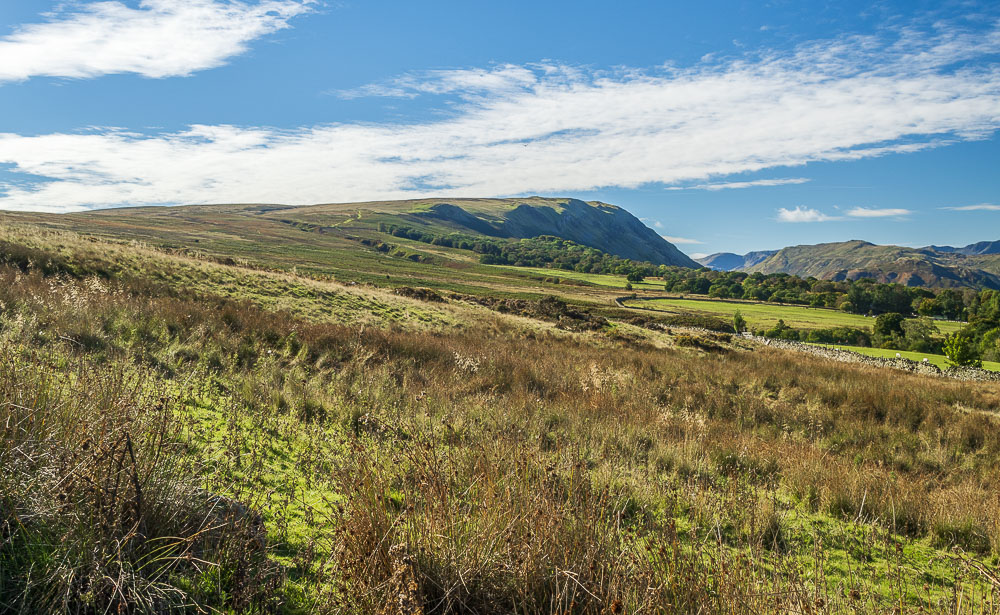
Looking to Arthur's Pike from Roehead.
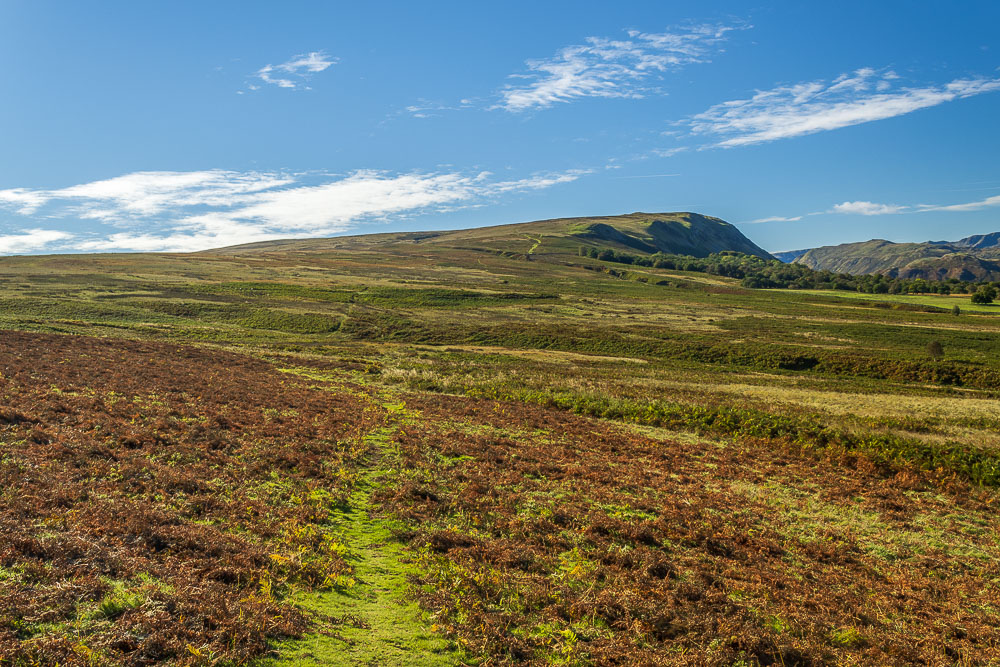
Rather than head up to The Cockpit we take the path across the moors, which despite all the rain was suprisingly dry.
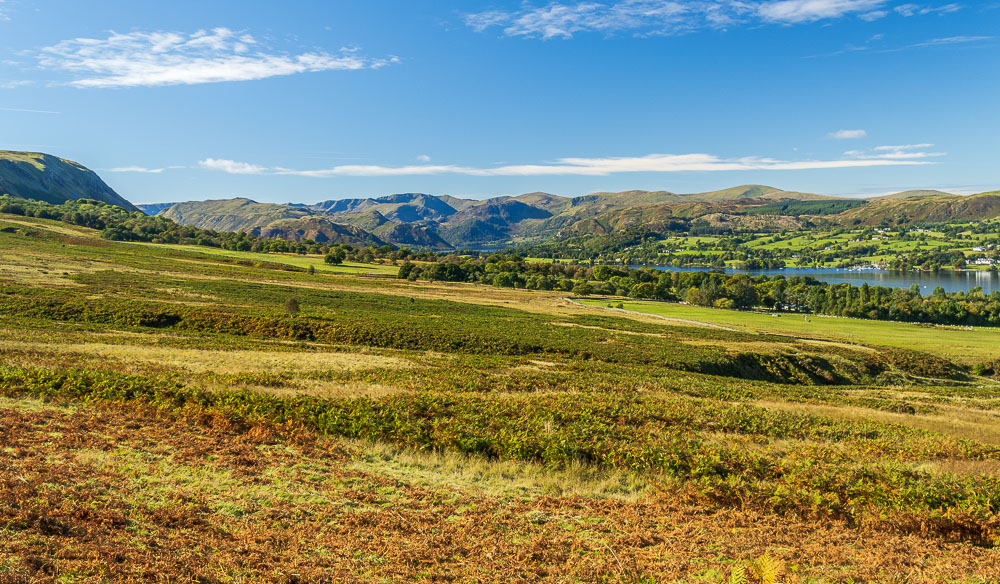
As we slowly gain height more of the fells on the other side of Ullswater come into view.
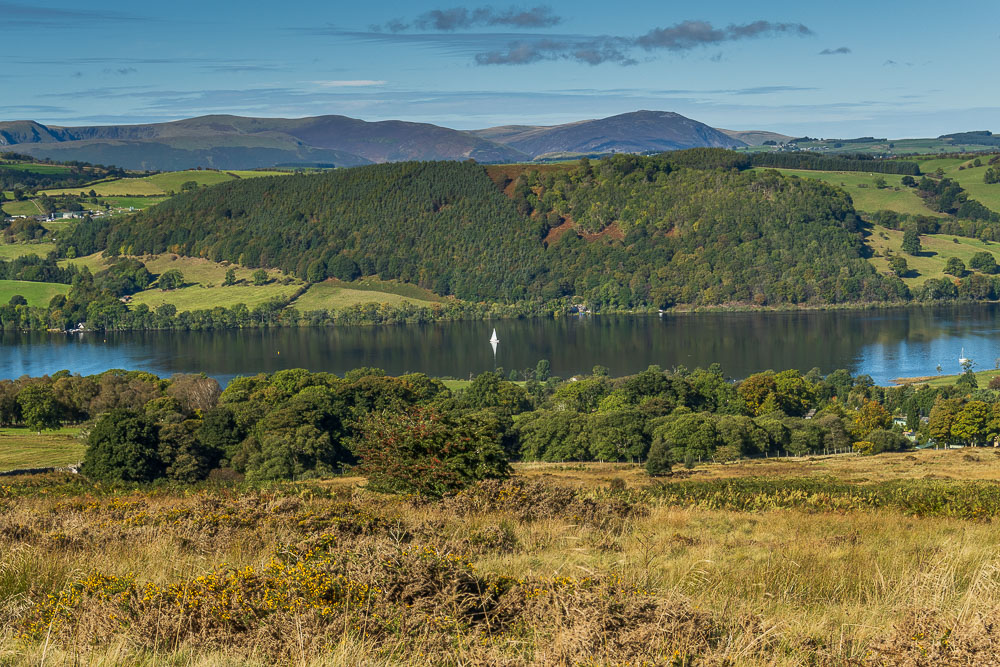
Looking down on Ullswater and the water is still enough for the boat's sails to have a mirror-like reflection.
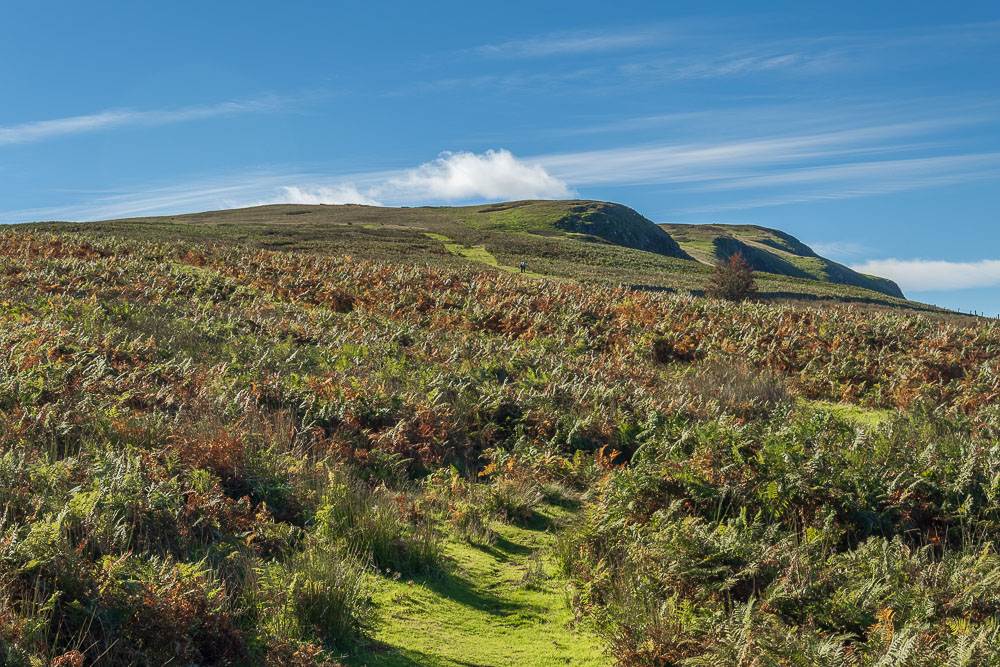
As we approach Aik Beck the path up Barton Fell is easy to spot.
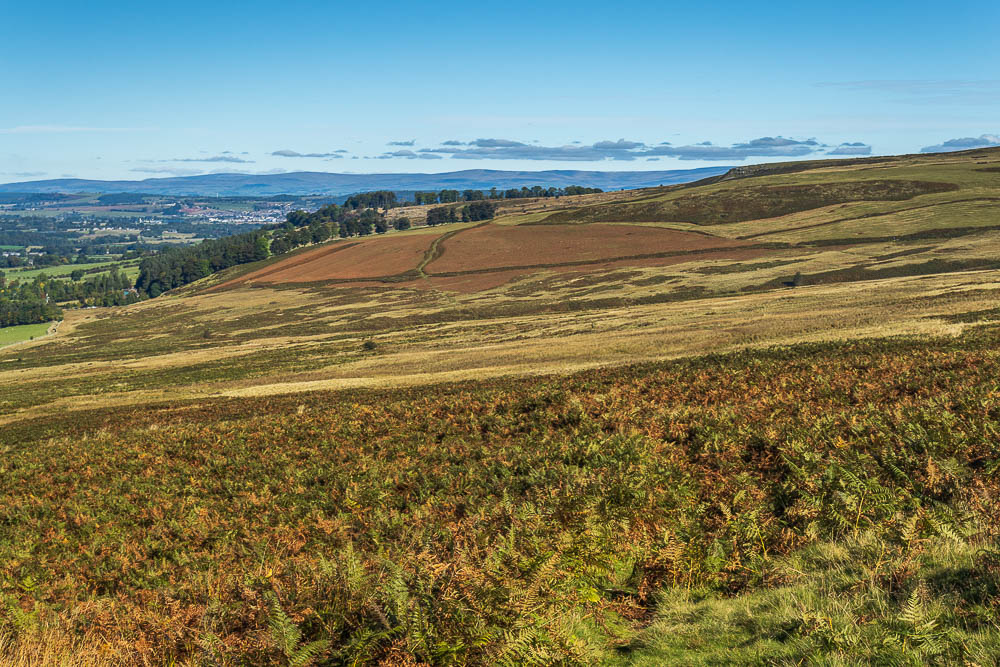
Looking back towards Heughscar Hill and we can pick out the path we followed across the moor, it starts opposite the green track below Heughscar.
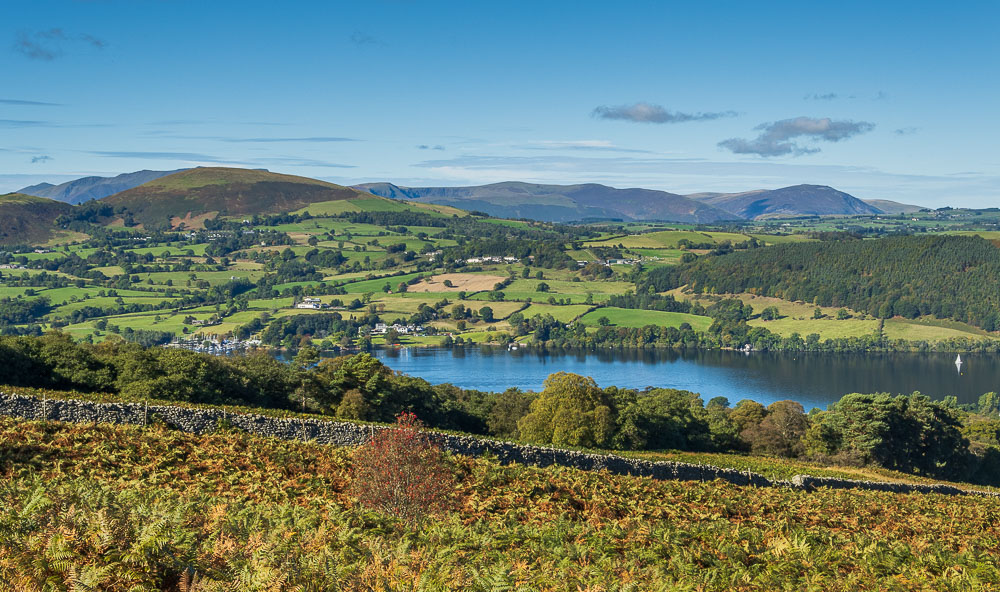
Beyond Little Mell Fell Bowscale and Carrock Fell come into view.
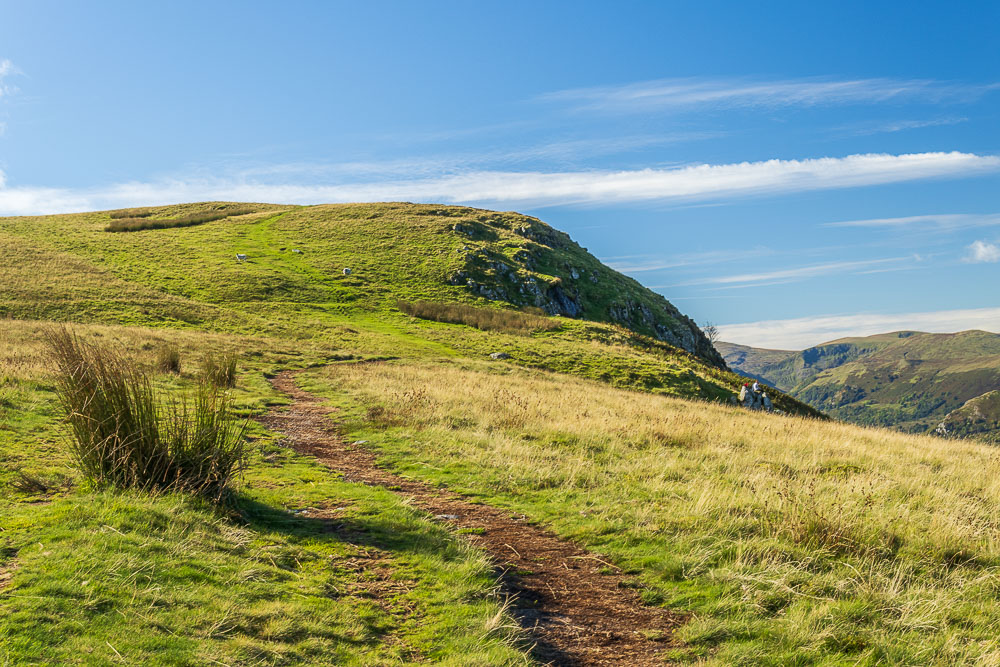
Approaching White Knott and the first of several cairns we would visit today on our way to the summit of Arthur's Pike.
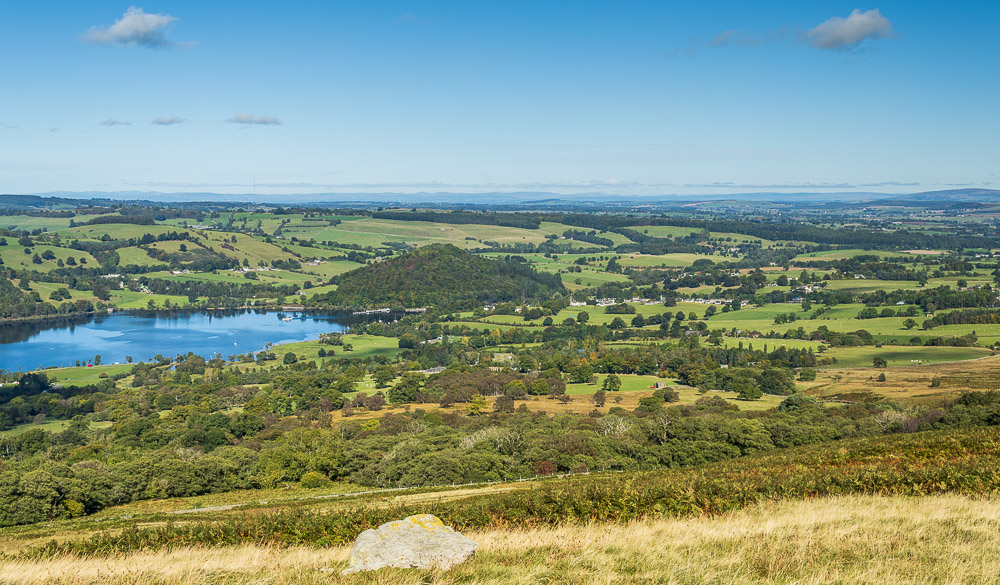
Looking back to Dunmallard Hill, as the steamer departs the landing stage at Pooley Bridge.
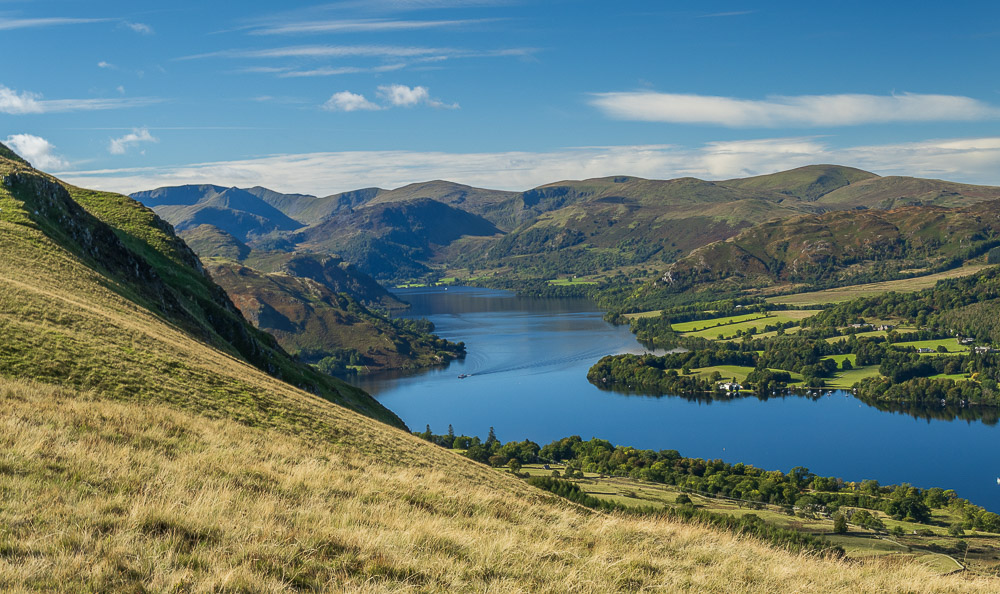
In the opposite direction another steamer can be seen heading for the landing stage below Hallin Fell.
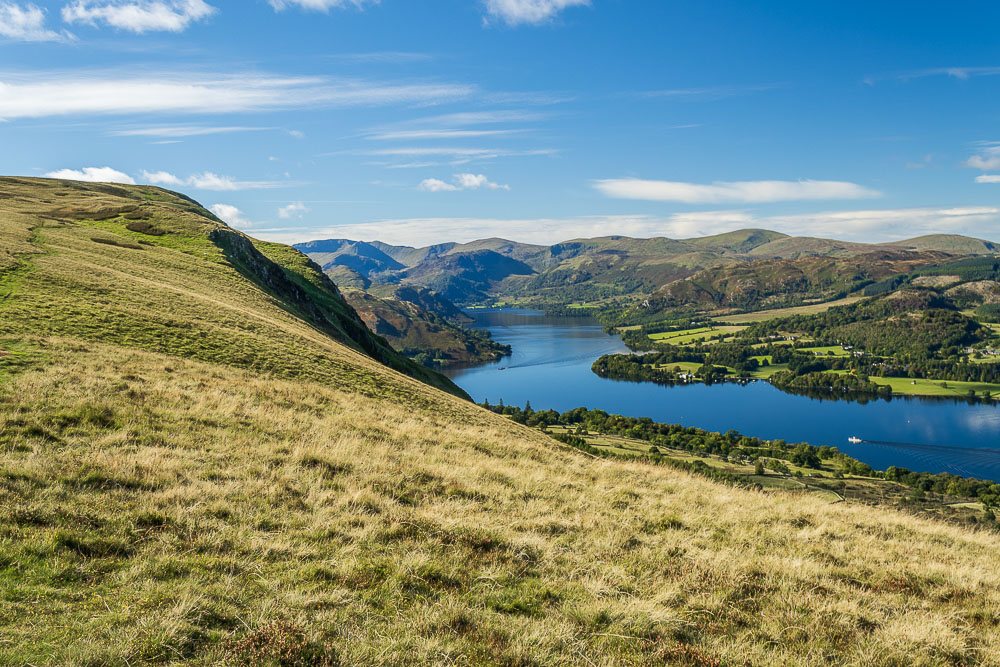
Having passed the first cairn at White Knott we continue along Barton Fell heading for Loup Knott, all the time enjoying the views along Ullswater.
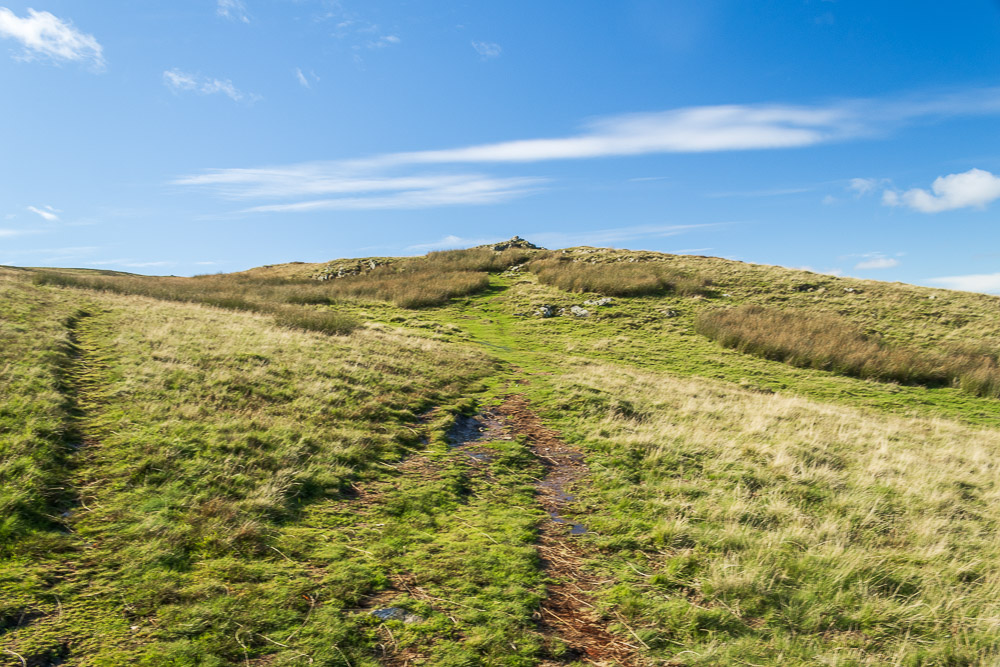
Approaching the cairn at Loup Knott.
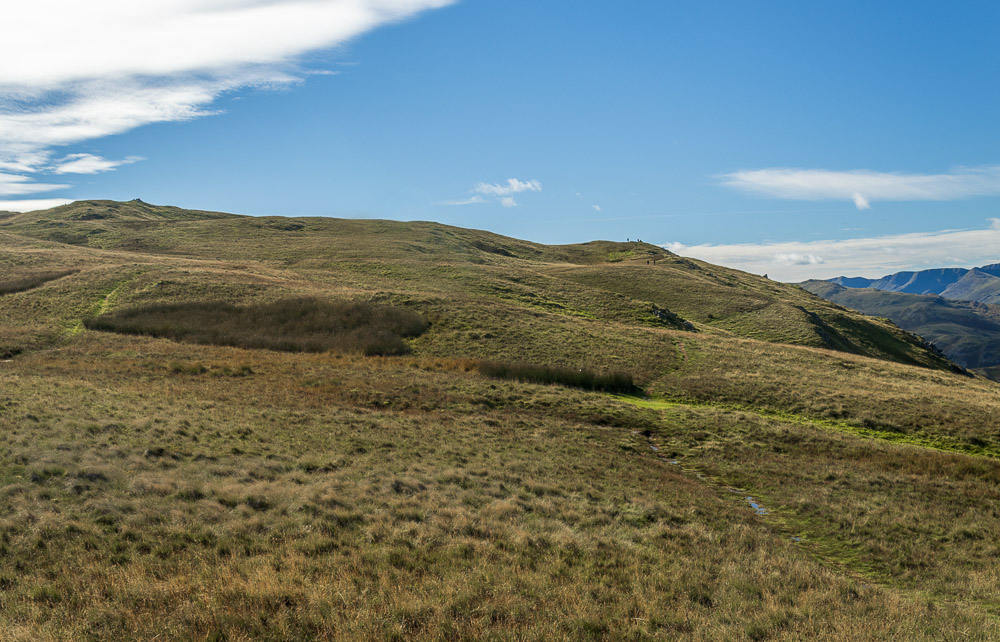
From Loup Knott we get our first view of the summit of Arthur's Pike, but first we will follow the track to the right and head for the cairn at Whinny Crag.
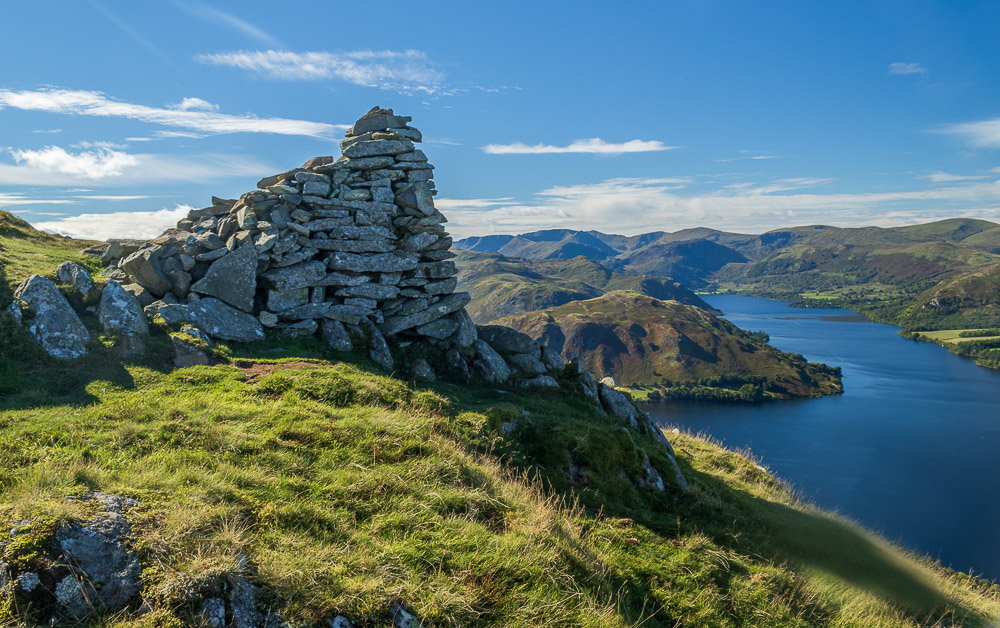
We make our way down to Whinny Crag and enjoy the view from the cairn.
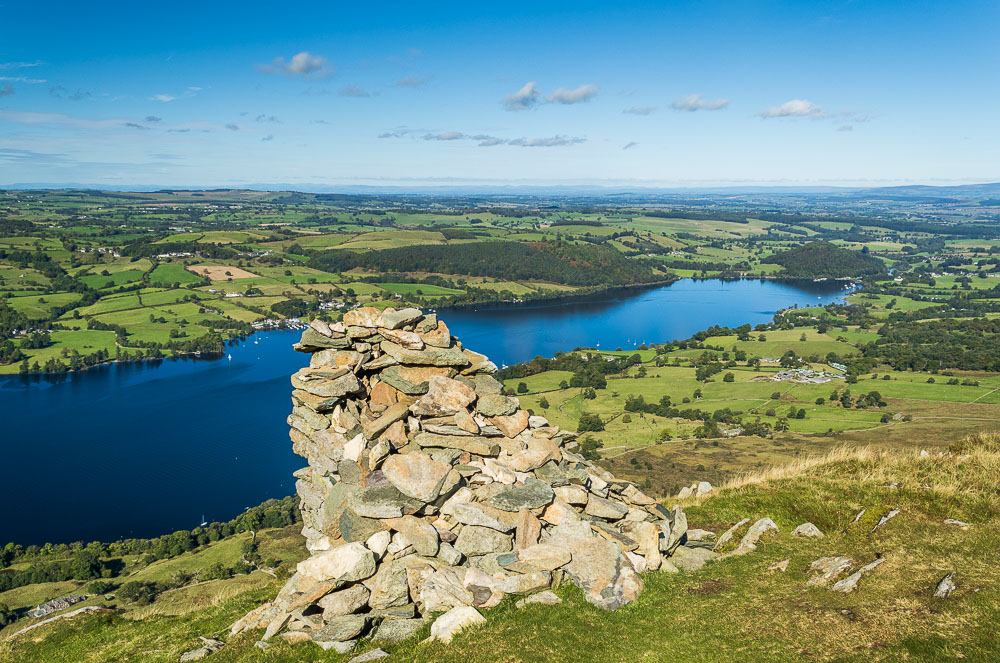
Looking the other way to Dunmallard Hill and the hazy Pennines.
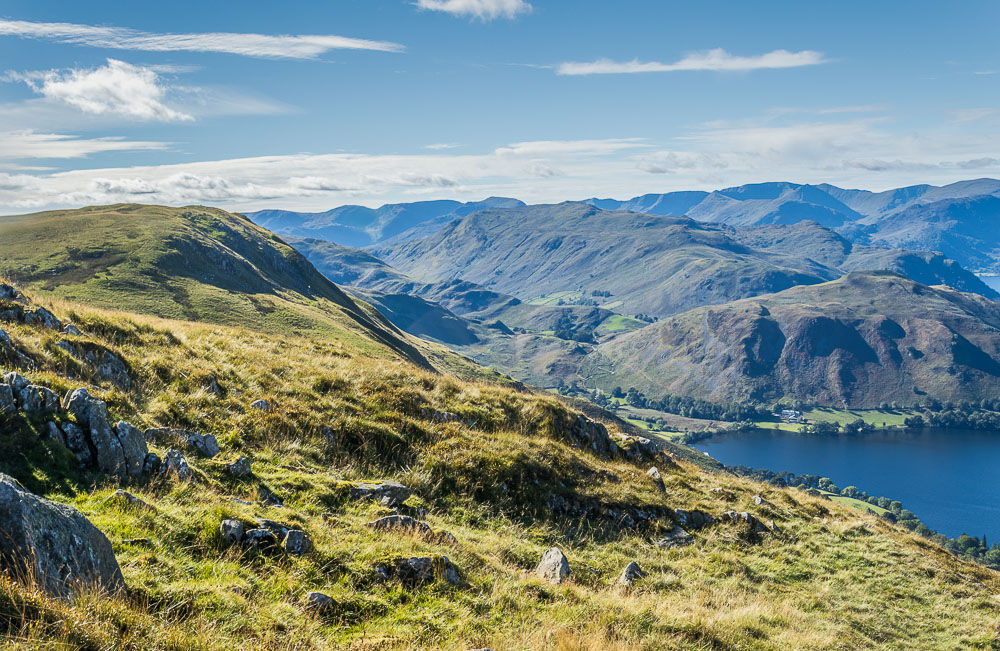
As we stand admiring the view we can start to assess the distance and ascent that would be required to reach Bonscale Pike. My calf had been pulling a little as we ascended Arthur's Pike so it would soon be decision time.
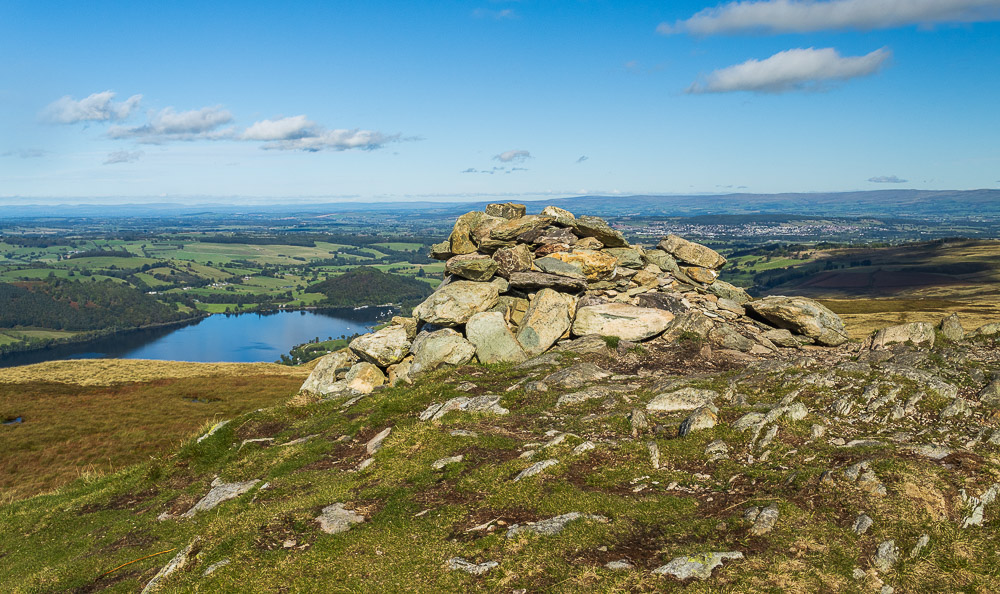
Another short ascent takes us to the summit of Arthur's Pike.
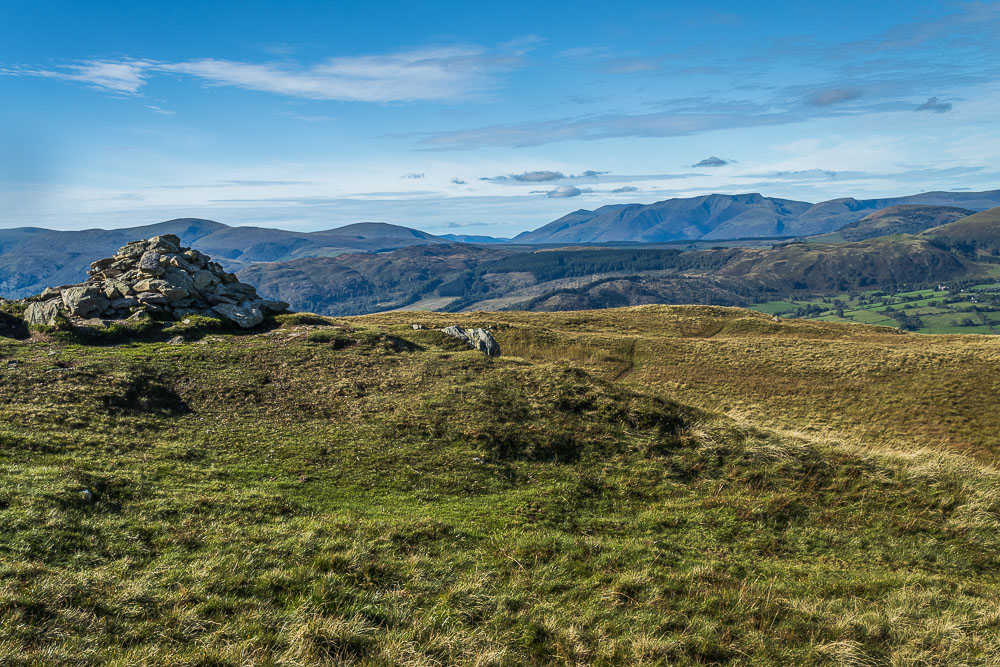
We opted to have lunch sat just below the summit cairn and enjoyed the views across Gowbarrow to Blencathra and a distant Skiddaw.
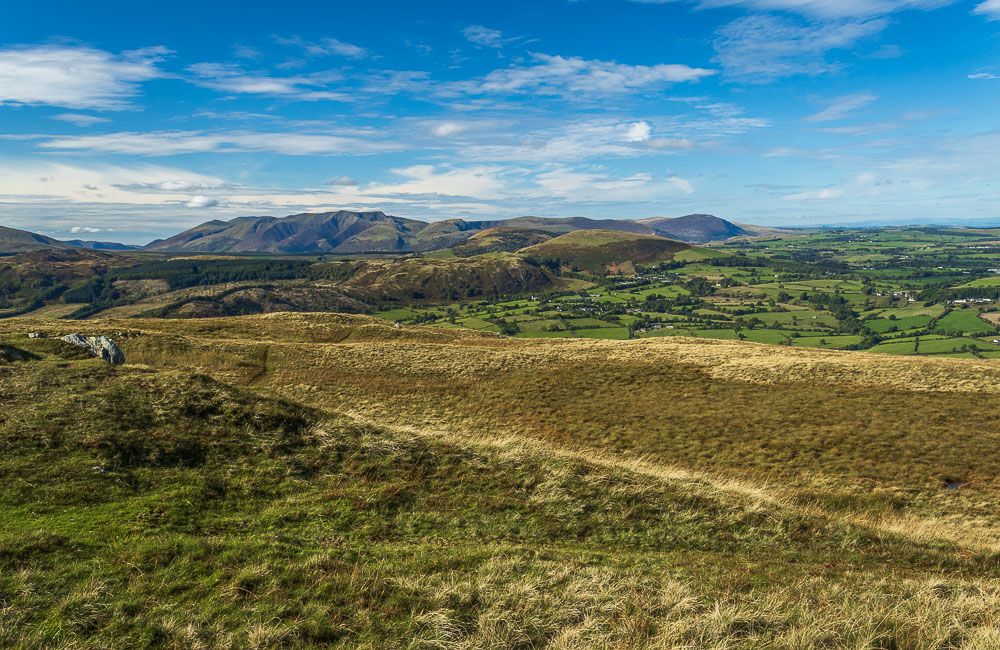
Having made the sensible decision that this was as high as we were going to go today we were in no rush. We sat soaking up the views on what was the 20th anniversary of our first date.
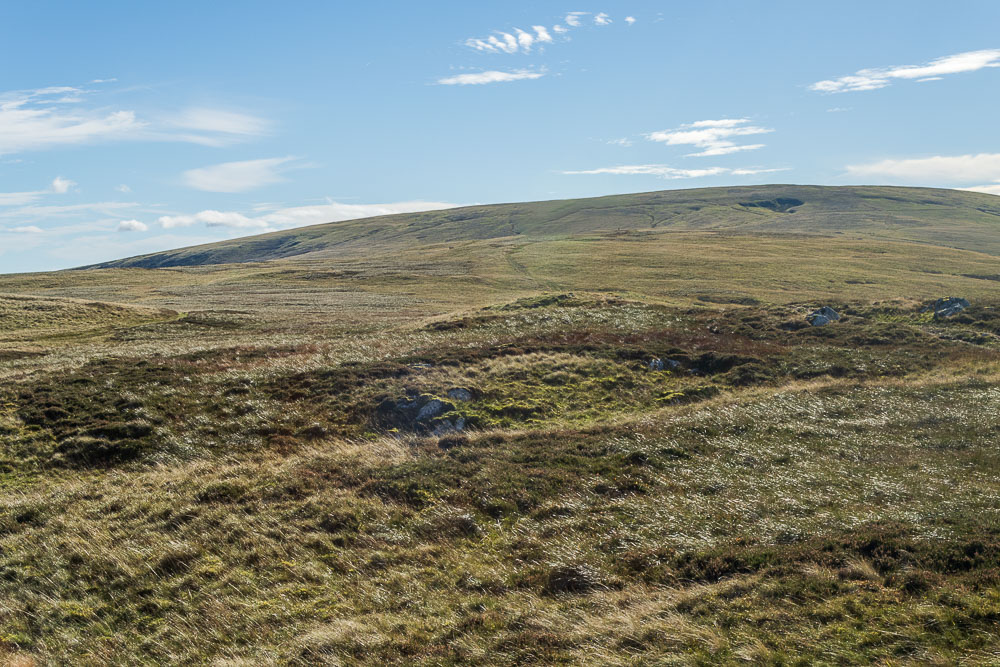
Loadpot Hill was also visible from our lunchspot, but definitely beyond my calf muscle today.
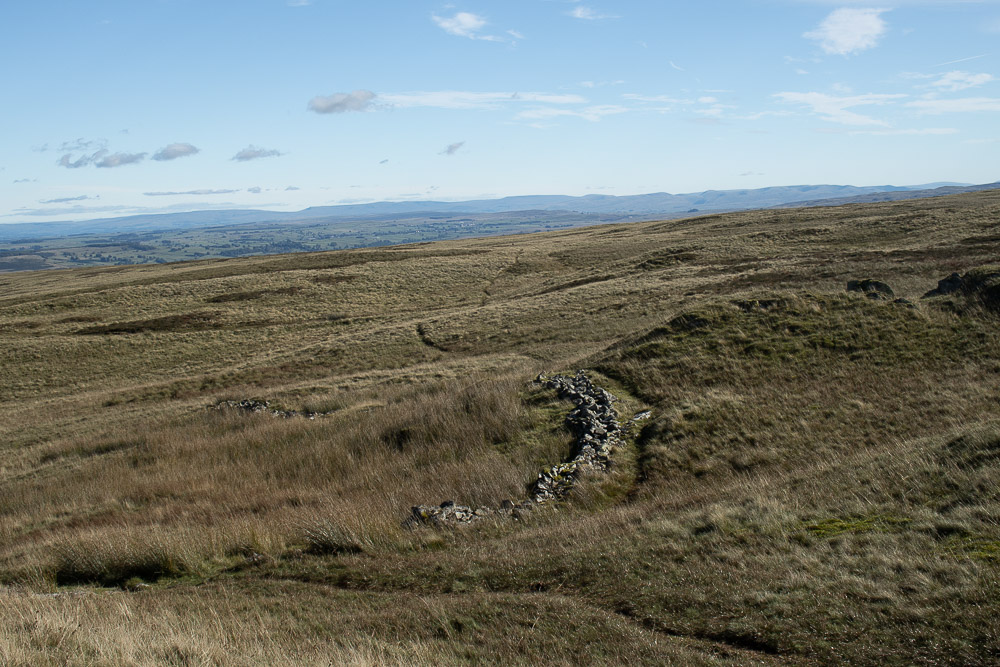
Our original plan was to head over to High Street and return via that path but instead we took the first track heading downhill, which soon rejoined the track we had original ascended Barton Fell on.
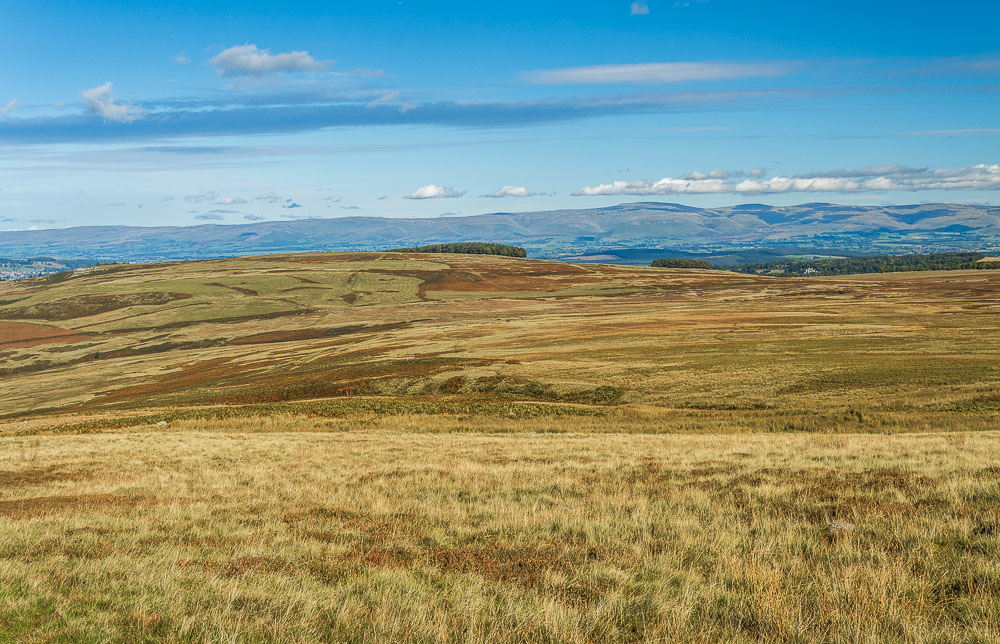
As we descended we could enjoy the views across Moor Divock to Askham Fell and Heughscar.
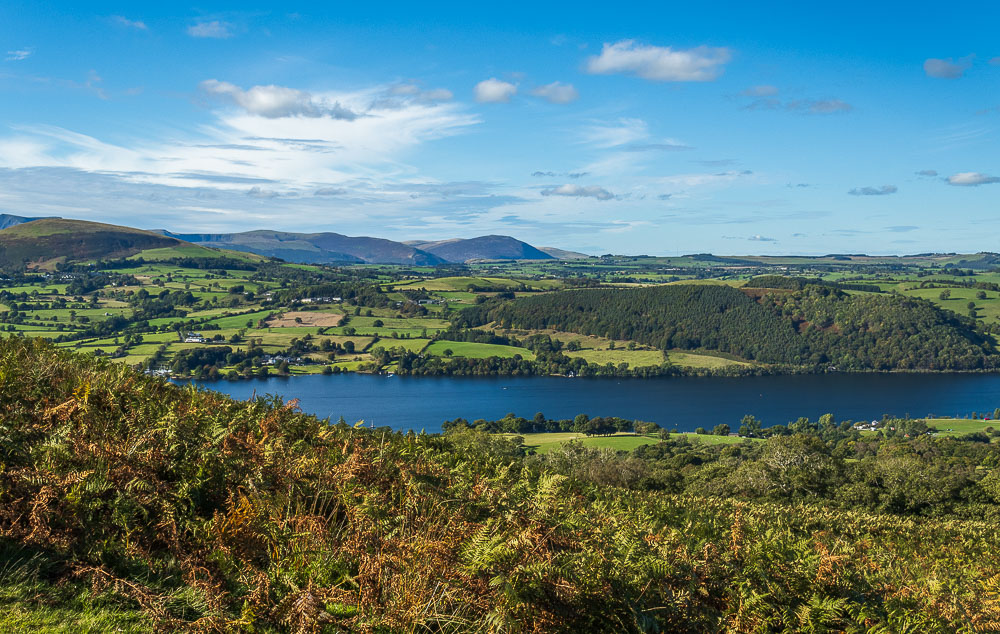
Across Ullswater the views are dominated by Carrock and Bowscale Fells.
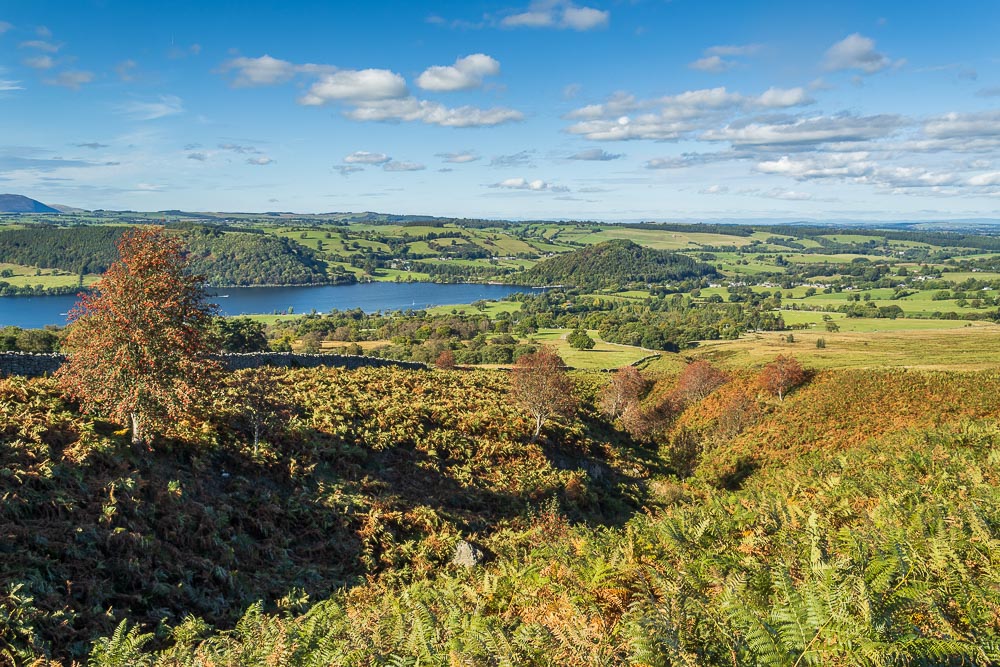
Having crossed the ford at Aik Beck we pause and take in the view and the hint of autumnal colours in the trees that line the route of the beck.
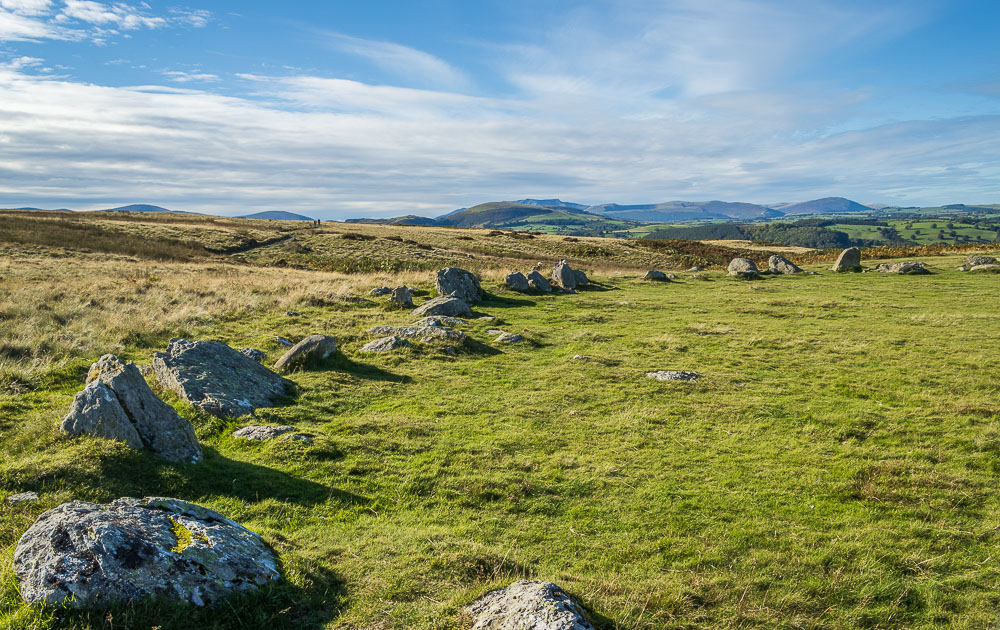
We stick to the main path and soon reach The Cockpit stone circle.
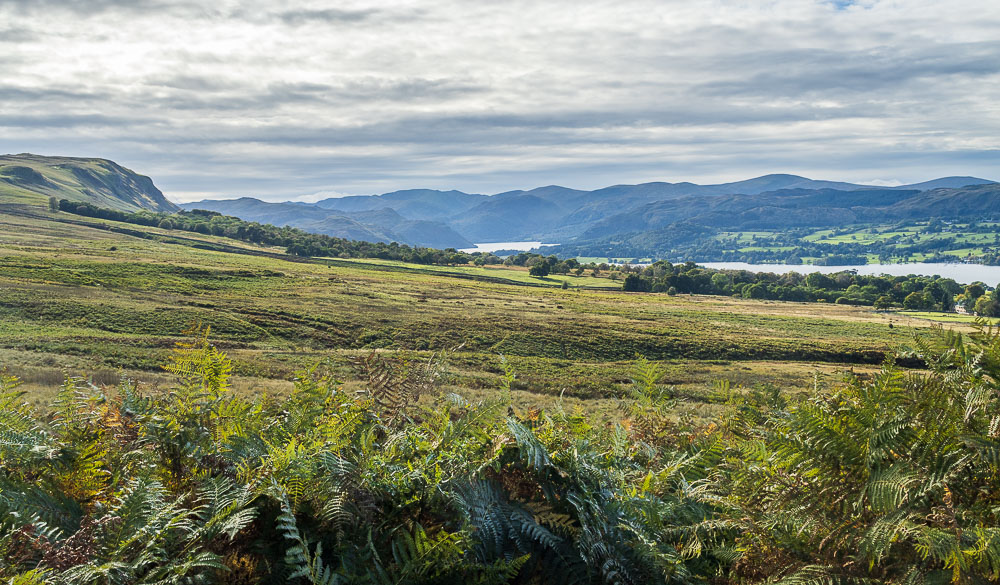
As we follow the track back to Roehead the clouds start to roll in and the blue sky is lost, along with any opportunity to photograph more reflections in the water.
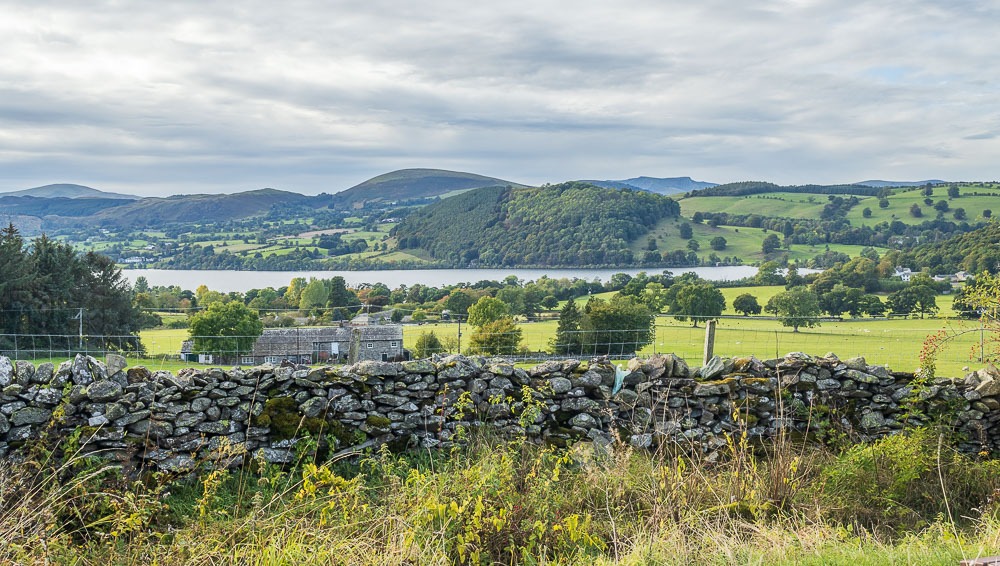
As we reach the road a final view across Ullswater to Little Mell Fell before we head back into the village and a pint at the Crown Inn.
All pictures copyright © Peak Walker 2006-2023